


蛋挞主要有三种:牛油蛋挞,酥皮蛋挞和葡式蛋挞。
牛油蛋挞:蛋挞皮口感像饼干,更像美式的派底皮(pie crust)。

图片来自于网络,版权属于原作者
酥皮蛋挞:挞皮是酥皮,类似美式的酥皮(puff pastry)。

图片来自于网络,版权属于原作者
葡式蛋挞:又称为葡式奶油塔、或者焦糖玛琪朵蛋挞。焦黑的表面是是糖受热后的焦糖颜色。葡式蛋挞早在1989年,由一个英国人从葡萄牙带到了澳门,演变成现在广受欢迎的葡式蛋挞。

图片来自于网络,版权属于原作者
华丽丽的分割线~~~~~~~~~~~~~~~~~~~~~~~~~~~~~~~~~~~~
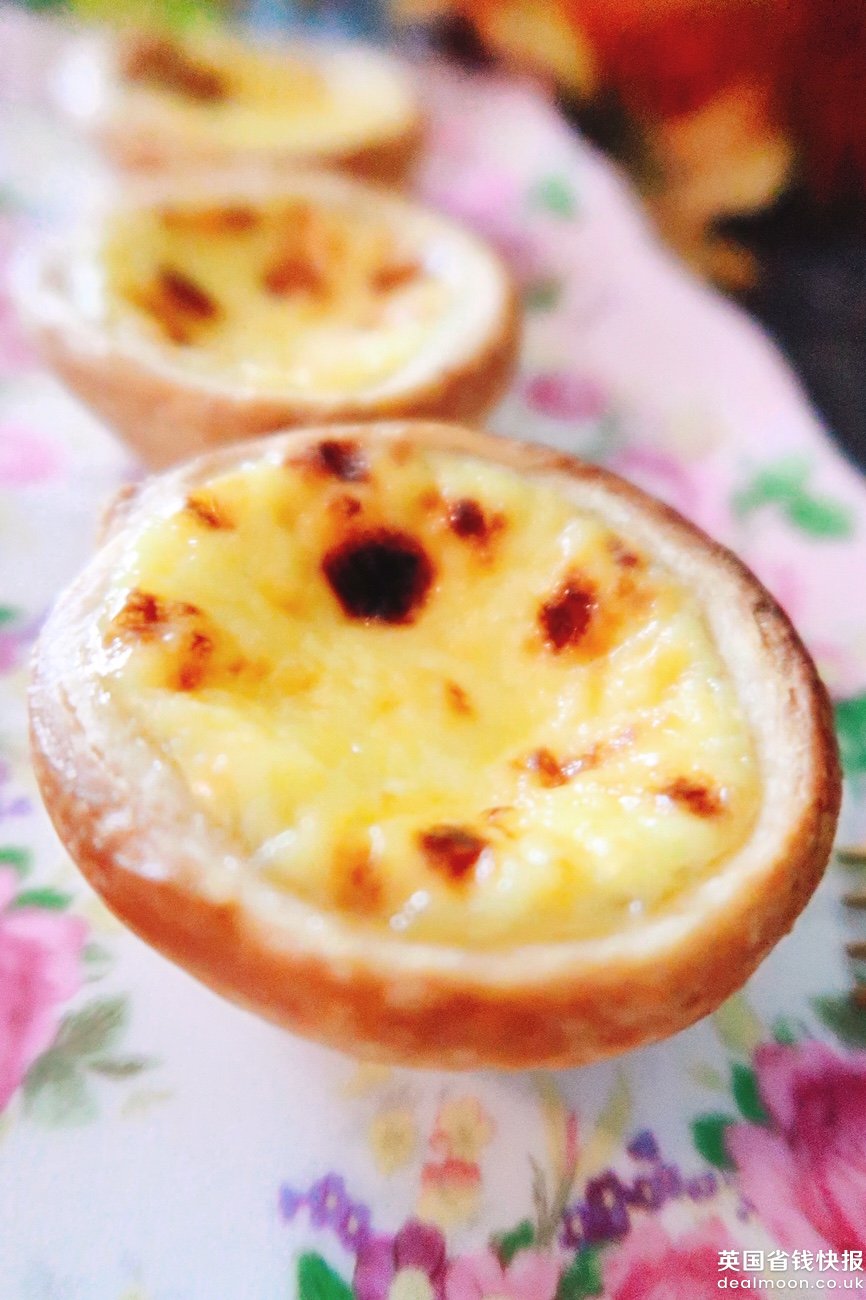
我最爱的蛋挞是葡式蛋挞,村里又买不到,所以只能自己动手丰衣足食。能买到的小伙伴可以忽略下面的正文了。先来一张成品图。

图片来自于@小毛114,版权属于原作者
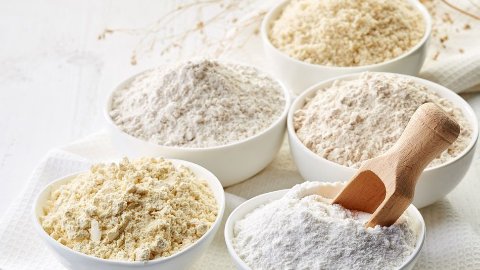
蛋挞皮:all purpose 面粉:130 g
无盐黄油 (面团用):20 g
水:65 g
白砂糖:3 g
盐:1 g
无盐黄油 (裹面用):60 g
步骤:
1.面团用黄油软化到室温,和除裹面用黄油外的其他材料混合到一起揉成光滑面团,盖上保鲜膜放冰箱冷藏30分钟。

图片来自于@小毛114,版权属于原作者
2.裹面用黄油从冰箱拿出来切成片,拼成长方形用保鲜膜包好放冰箱冷冻。面团拿出来擀成裹面用黄油片三倍大。

图片来自于@小毛114,版权属于原作者
3.把黄油片拿出来稍微回温,放入擀好的面皮,三折包裹住黄油片的软硬把握好,不能太硬也不能太软。太硬可以就用擀面杖一点点按压面皮,让黄油慢慢变软,太软就只能放会冰箱冻硬一点。
图片来自于@小毛114,版权属于原作者
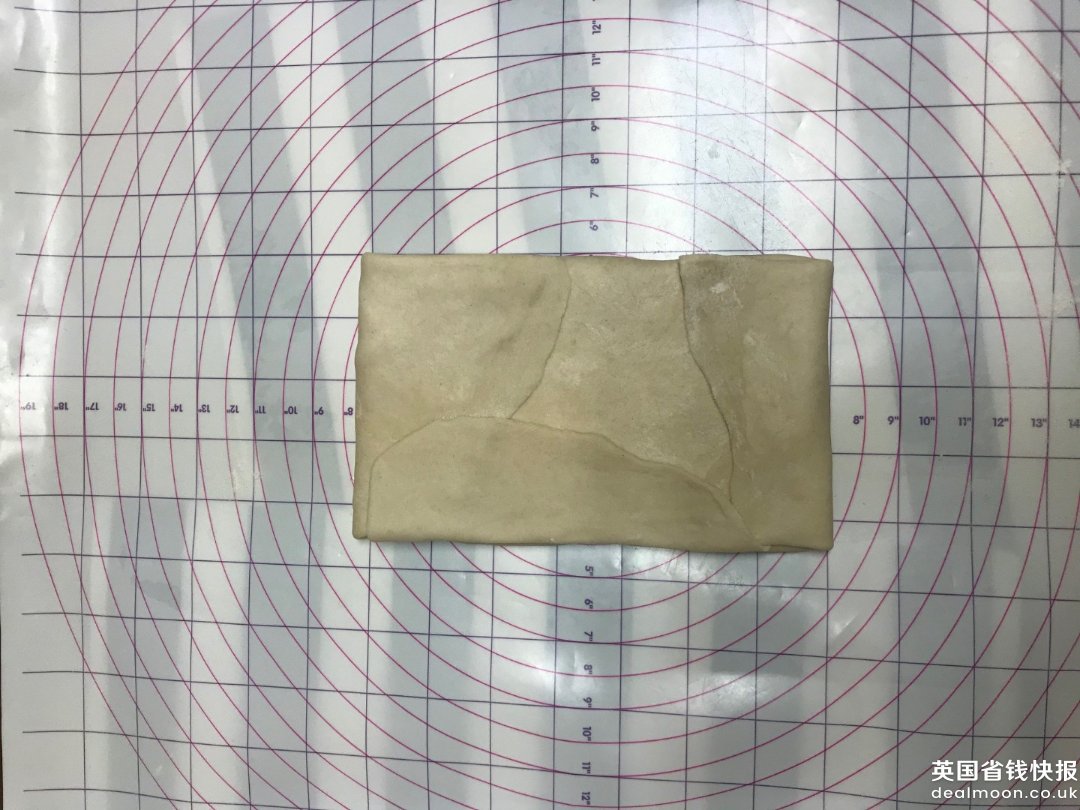
4.面皮一定要包好黄油,擀的时候要慢,黄油可能会挤出来,说明黄油化的太软,那赶快放冰箱里让黄油变硬。裹好之后擀开再四折折起来,放冰箱冷藏半小时。

图片来自于@小毛114,版权属于原作者
5.拿出来转90度擀开再重复折四折,放冰箱冷藏。

图片来自于@小毛114,版权属于原作者
6.这样重复3-5遍,我这个是擀了5遍。刚开始擀的第1,2遍可能会挤出黄油,没关系,耐心的擀,到后面几次就不会了,因为黄油和面团慢慢的混合到一起了。

图片来自于@小毛114,版权属于原作者
7.擀皮的时候会有气泡出现,用牙签扎一下,把气泡挤出来就会很平整。如果用擀面杖擀的话,有可能把气泡撑破,黄油挤出来。

图片来自于@小毛114,版权属于原作者
8.最后卷成一个面卷,边边切掉就能看到平整的挞皮卷了。用不了的包上保鲜膜/锡纸放进冷藏,用的时候拿出来化冻就好了。
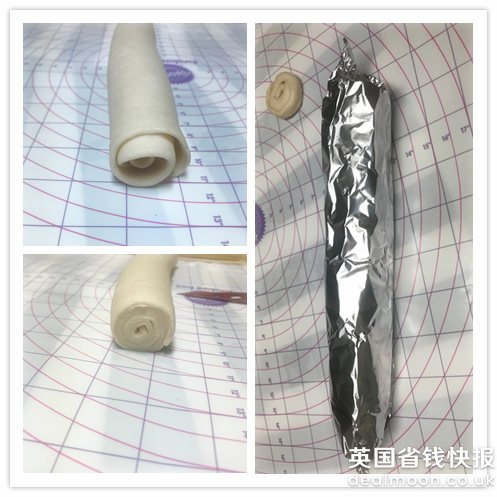
图片来自于@小毛114,版权属于原作者
9.每个蛋挞皮切多厚取决于蛋挞模子多大,拿不准可以先切一个按进模子里试试。

图片来自于@小毛114,版权属于原作者
10.最合适的皮是高出模子一圈,因为烤的时候皮会缩一点。蛋挞底一定要薄,喜欢吃酥皮的可以边缘厚一些。

图片来自于@小毛114,版权属于原作者
蛋挞液:蛋黄:2个
低筋面粉:7 g
whipping cream: 110 g
牛奶:70 g
白砂糖:20 g
炼奶:7 g
蛋挞液超级简单,蛋黄和过筛低粉混合,其他的混合后在微波炉里加热1~2分钟让糖和炼乳融化混合。加入蛋黄液过筛,让蛋挞液更细腻顺滑。

图片来自于@小毛114,版权属于原作者
倒入蛋挞皮差不多7-8分满。一次吃不完的蛋挞液可以做成蛋奶布丁,就是蛋挞液直接烤。

图片来自于@小毛114,版权属于原作者
烤箱预热390F,中层烤25分钟左右。最后用broil烤表面1-2分钟,一定要看着,否则会烤糊。

图片来自于@小毛114,版权属于原作者
看蛋挞底一圈一圈的,咬开皮也是层一层的,说明蛋挞皮做的很成功。

图片来自于@小毛114,版权属于原作者

图片来自于@小毛114,版权属于原作者

图片来自于@小毛114,版权属于原作者
放稍微不烫手赶快吃吧,蛋挞要趁热吃。
图片来自于@小毛114,版权属于原作者
谢谢观看
更得甜品请戳这里(#^.^#)
甜品合集(1) | 从简单到复杂,20款party小甜品总有一款适合你
「该文章来自@小毛114-北美省钱快报,版权归原作者所有」
君君提示:你也可以发布优质内容,点此查看详情 >>
本文著作权归作者本人和英国省钱快报共同所有,未经许可不得转载。长文章仅代表作者看法,如有更多内容分享或是对文中观点有不同见解,省钱快报欢迎您的投稿。
15


最新评论 1
:超爱蛋挞! 就是买不到蛋挞皮,跟着功课diy了